Concept Maps They are incredible tools for visualizing the relationship between different concepts. They are particularly useful in education and the workplace for organizing and presenting information clearly and efficiently. Microsoft Word, as it is one of the most widely used word processors, It offers features that make it easier to create concept maps. In this blog, we'll show you How to Create a Concept Map in Word Easily and Simply.
What are concept maps used for?
Concept Maps They are visual tools used to organize and represent information in a hierarchical and structured manner. They are used to:
1. Organizing ideas: They allow you to organize concepts and relate them to one another in a logical way, making it easier to understand and analyze the information.
2. View relationships: They help visualize the connections and relationships between different concepts or topics, which makes it easier to understand the information and identify patterns.
3. Facilitate learning: They are useful for students when studying new topics, as they provide a clear and concise visual representation of the information, which helps students retain and better understand the concepts.
4. Plan projects and presentations: They help you organize your ideas and structure your information before starting a project or presentation, which makes it easier to plan and develop coherent and logical content.
5. Facilitate communication: They are effective tools for communicating complex ideas clearly and concisely, both in educational and professional settings.
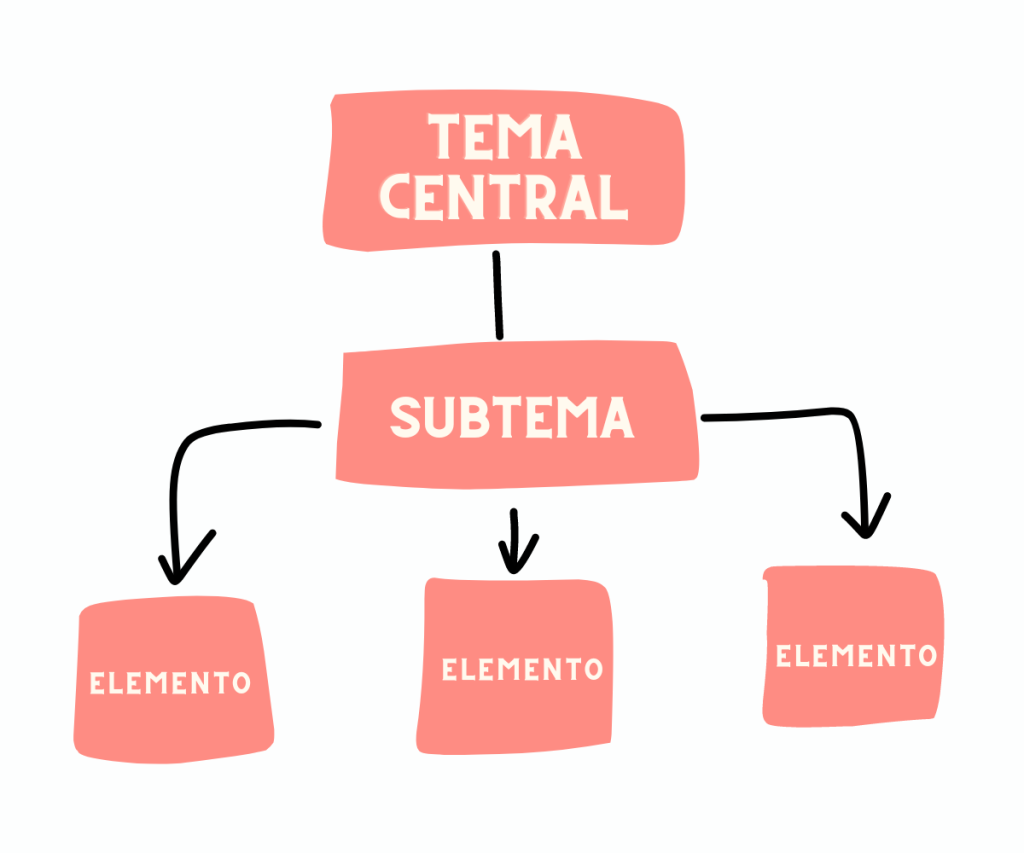
How do you create a concept map in Word?
Here's how you can create one in Word.
Step 1: Prepare the document
Open Microsoft Word and Create a new document. Before you start drawing your concept map, it's a good idea to think about the overall structure and the main concepts that you want to include.
Step 2: Insert Shapes
Go to the tab ‘Insert’ and select ‘Shapes’. Here you'll find a variety of geometric shapes that you can use to represent the concepts. For example, you can use rectangles with rounded corners for the main concepts and ellipses for the subconcepts.
Step 3: Add text
Once you've drawn a shape, Right-click on it and select ‘Add Text’. Type the main concept or idea inside the shape. You can adjust the text size, font, and color to make it stand out.
Step 4: Connect the ideas
For show the relationship among the concepts, You can use lines or arrows. In the same ‘Shapes’ section’, you'll find different styles of lines and connectors. Simply draw a line from one shape to another to show how they relate to each other.
Step 5: Customize the design
Word lets you Customize the design of your shapes and connectors. You can change the color and line style, and add effects such as shadows to give your concept map a more professional look.
Additional Tips
- Group items: If you have several shapes and connectors that make up a section of the map, you can group them together to move them as a unit and keep things organized.
- Using SmartArt: For a faster method, you can use Word's SmartArt tool, which includes ready-to-use concept map templates.
- Save as PDF: Once you've finished your concept map, you can save it as a PDF to make it easier to share and present.
Creating a concept map in Word is a simple yet powerful way to organize your ideas and present them visually. With practice and creativity, you can create concept maps that are not only informative but also visually appealing.